Changing Water Filter Aquasana is an online article by an Architectural firm that specializes in the design of custom mountain houses. This article illustrates how they change out one of the filter types in an Aquasana whole house filtration system for drinking water. NOTE: if you have no skills in Plumbing or in home maintenance, we suggest you have a professional do this for you. This company is not responsible for any issues you may encounter.
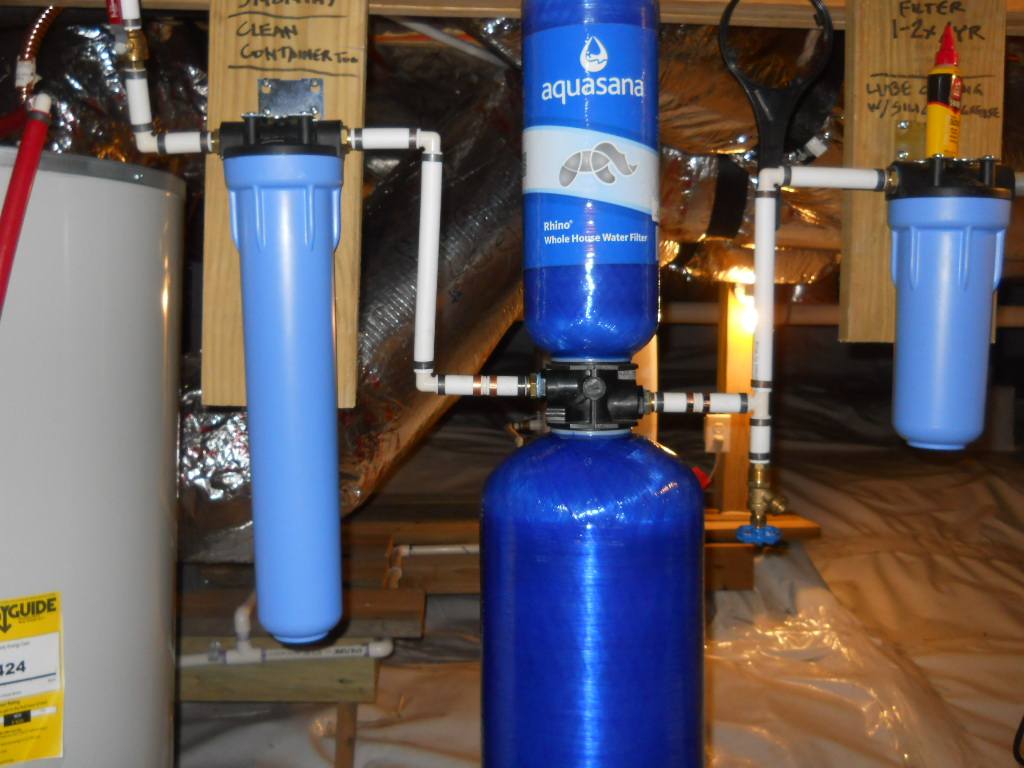
This is the PRE filter (left side medium blue canister to the right of the large gray hot water heater). There is a replaceable filter inside of this that we’re going to replace today. The PRE filter typically is replaced about every 3 months. It receives the raw incoming water, so it becomes soiled faster than the other filter sections.
There are several steps to doing this properly and those steps are numbered, to make it easy to follow.
1. PUT CLEAN WATER IN A CLEAN PLASTIC CONTAINER
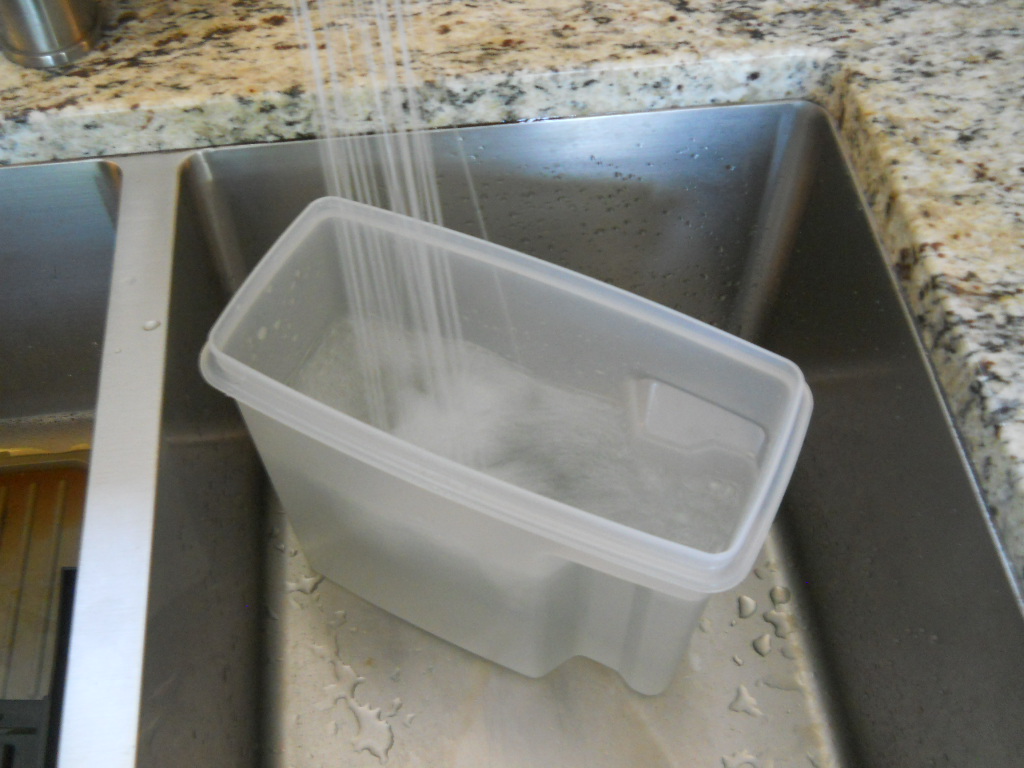
This water will be used for rinsing, after turning off the water supply to the house.
2. FIND A CLEAN HAND TOWEL
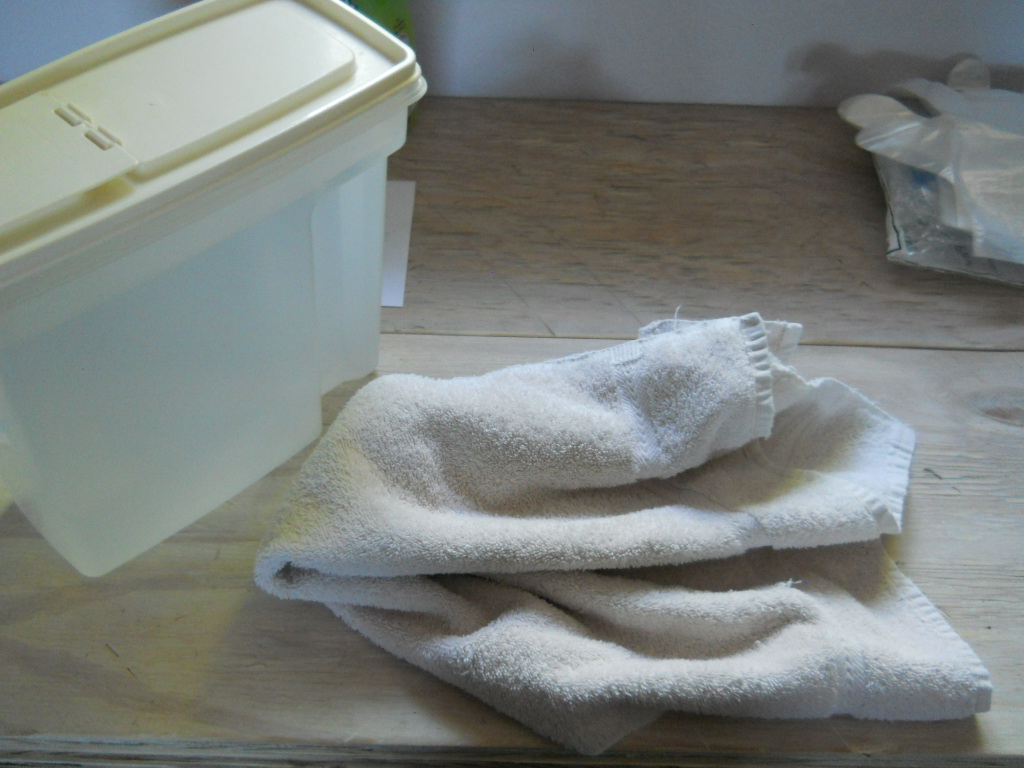
This will be used to wipe out and clean.
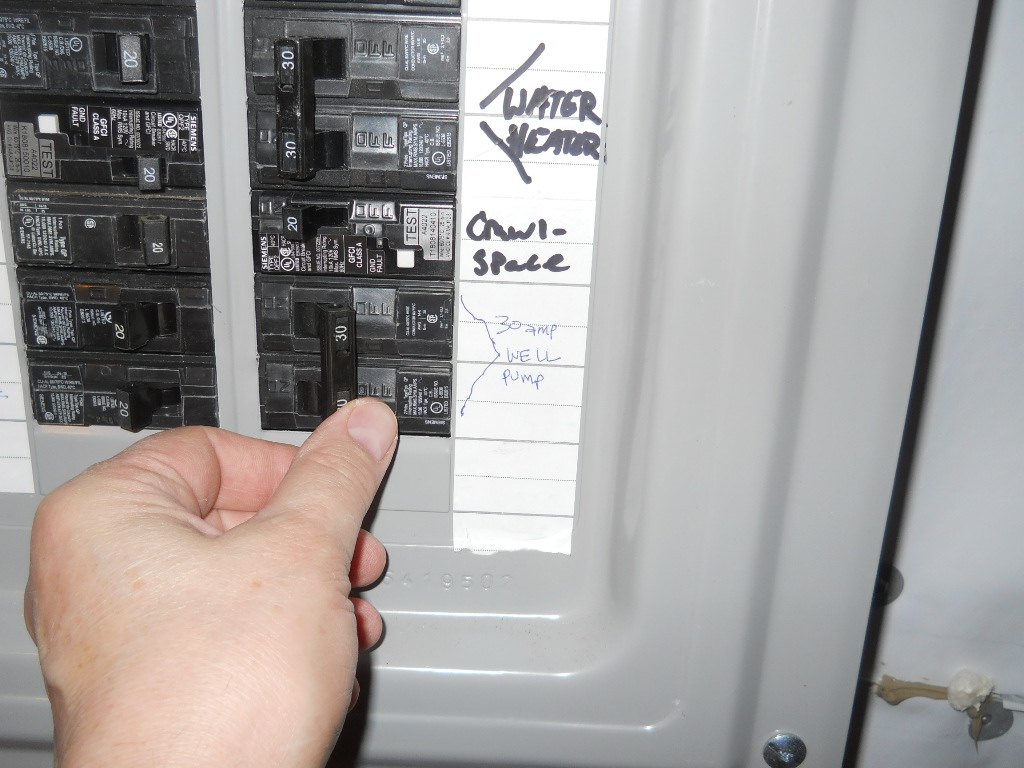
3. IF THERE IS A WELL, TURN OFF THE BREAKER THAT POWERS THAT
4. TURN OFF WATER LINE VALVE FEEDING THE FILTER (slowly)
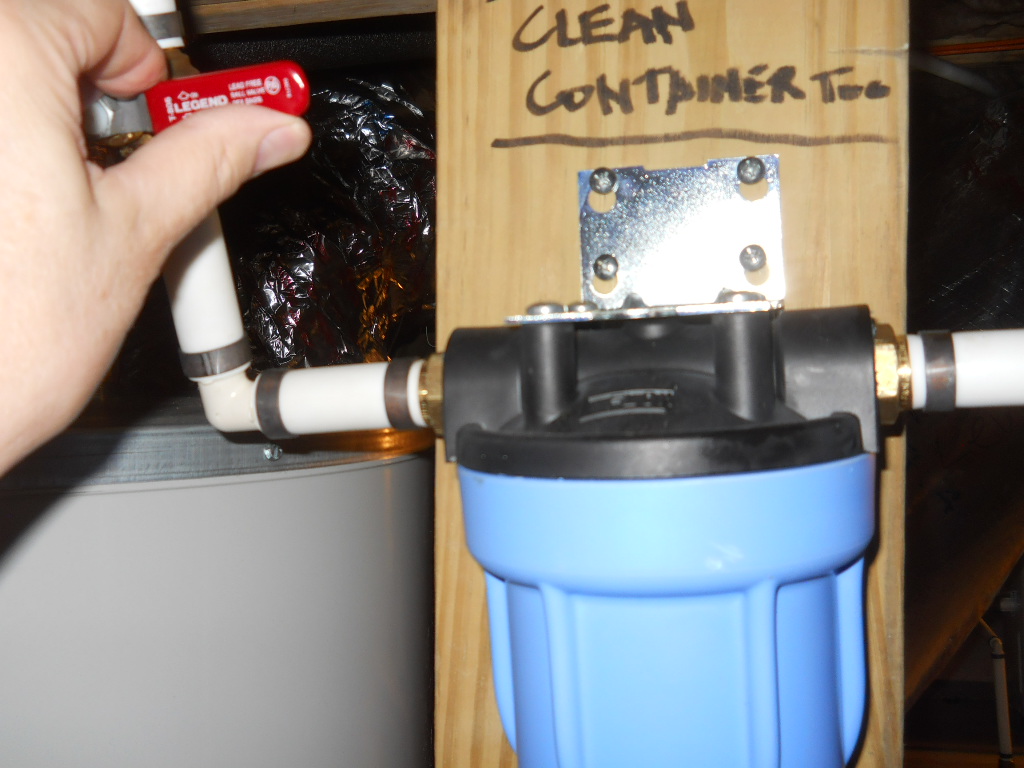
Also, turn off the water valve that feeds the house plumbing from the filter equipment.

5. (If there is one,) LOCATE A PRESSURE RELIEF HOSE BIBB FOR THE FILTER EQUIPMENT,
put a 5 gallon bucket under that, then slowly turn that valve and release the water under pressure from the filter equipment and let it drain into the bucket. After the water pressure has been been relieved, turn this valve off again.
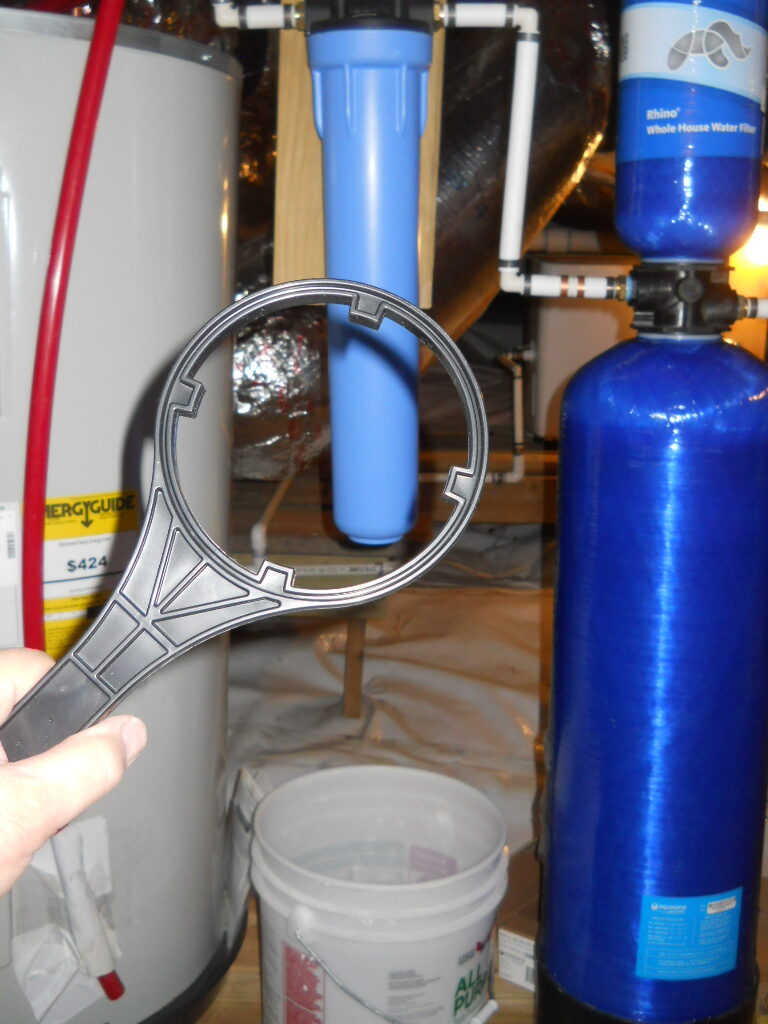
6. LOCATE YOUR LARGE PLASTIC WRENCH YOU RECEIVED WHEN YOU HAD YOUR WATER FILTRATION SYSTEM INSTALLED.
Also, place a 5 gallon bucket under the filter housing to catch the water that’s going to be released.
7. USE THE LARGE PLASTIC WRENCH TO LOOSEN THE FILTER HOUSING SLOWLY
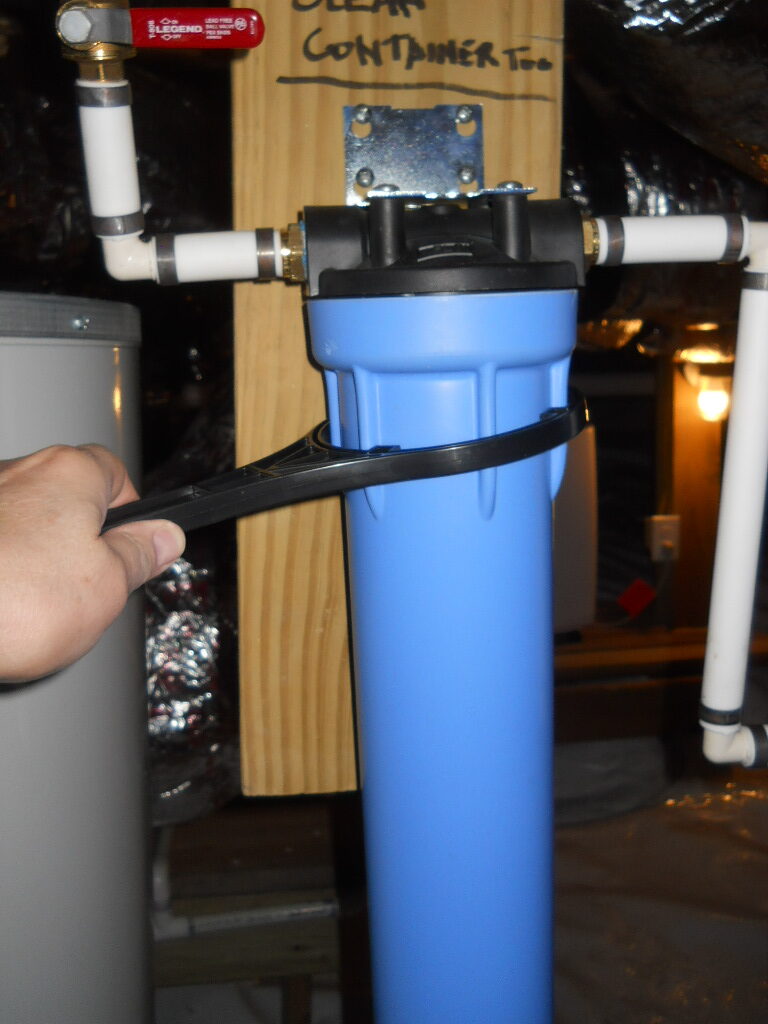
Turn the wrench LEFT to loosen the filter housing, until the canister feels loose. Then, by hand, loosen it the rest of the way, keeping one of your hands under the canister, because it weighs several pounds and will suddenly fall down.
8. REMOVE DIRTY FILTER FROM THE HOUSING
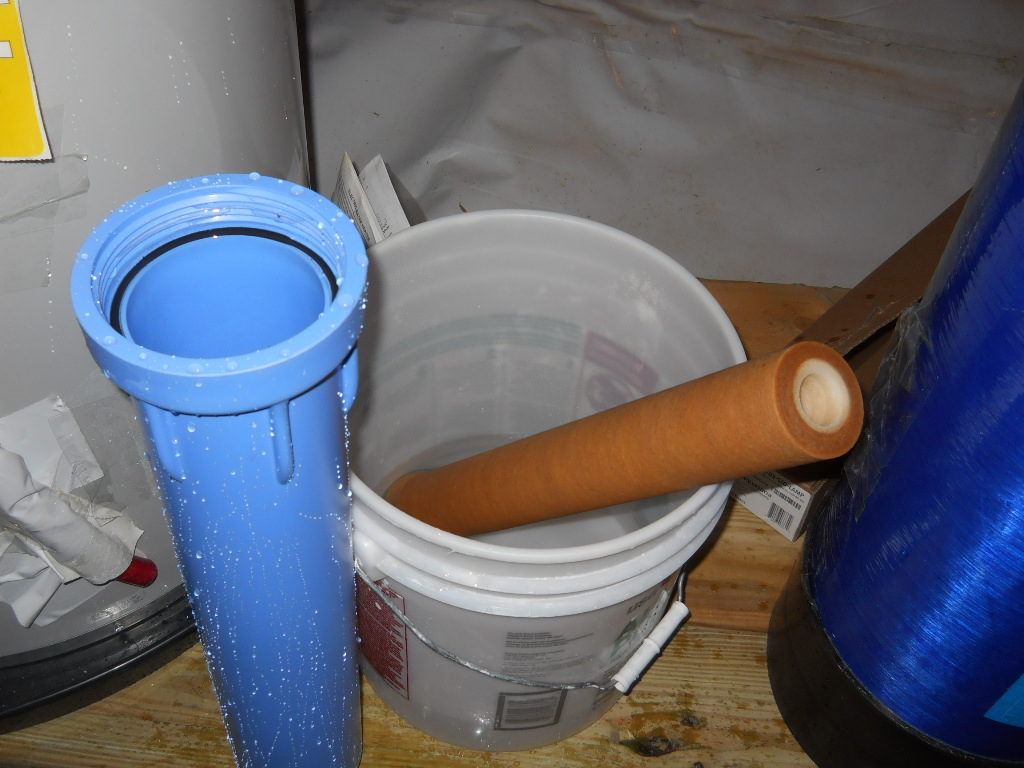
Here one can see the removed dirty filter (brown) placed into the bucket (after removing from the blue housing), with the blue housing now empty.
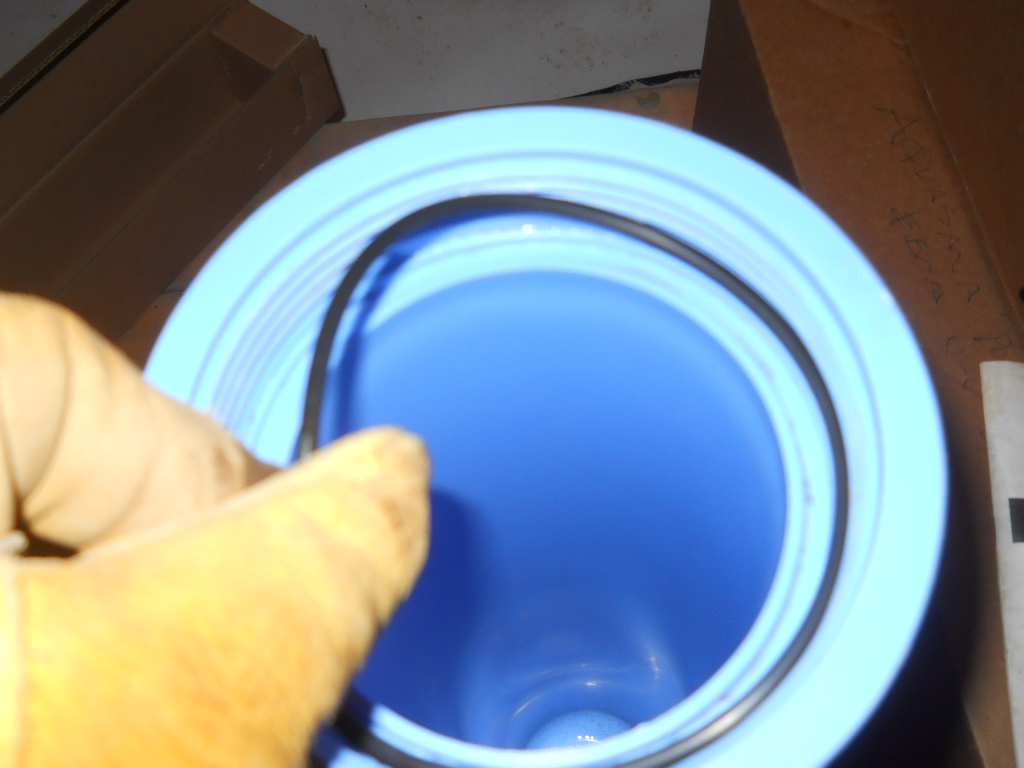
9. CLEAN OUT THE BLUE FILTER HOUSING
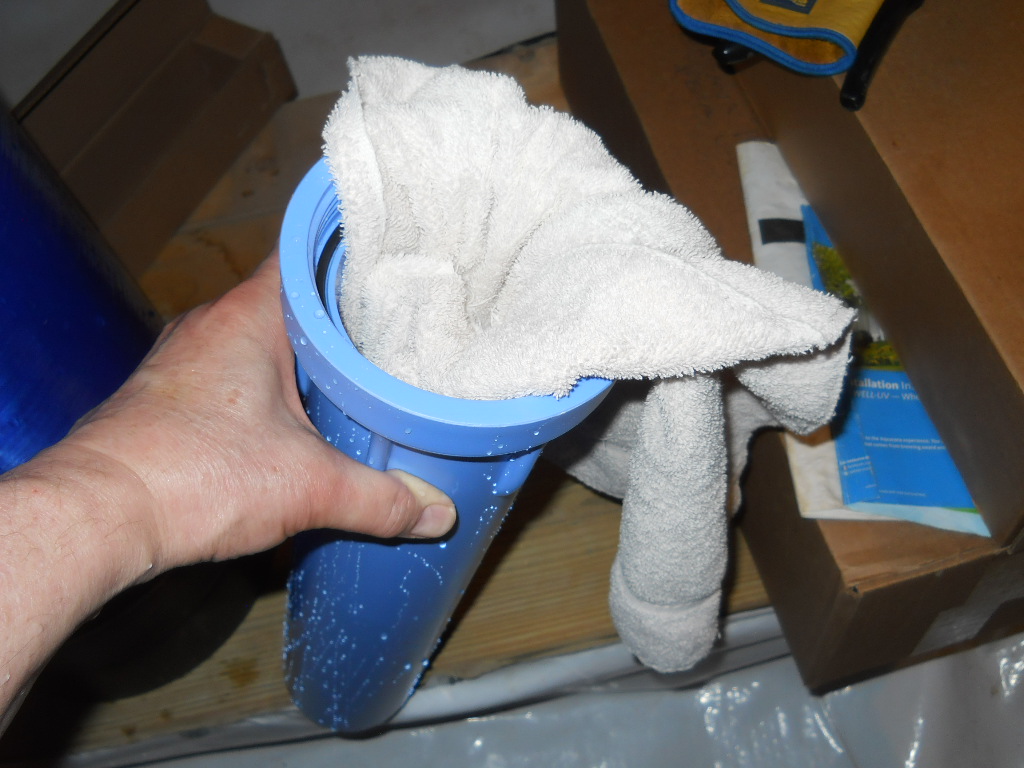
Using the clean towel, clean the interior of the filter housing.

Then, using the clean water, rinse out the interior of the blue filter housing.
10. REMOVE, CLEAN & LUBRICATE O-RING & THREADS OF FILTER HOUSING
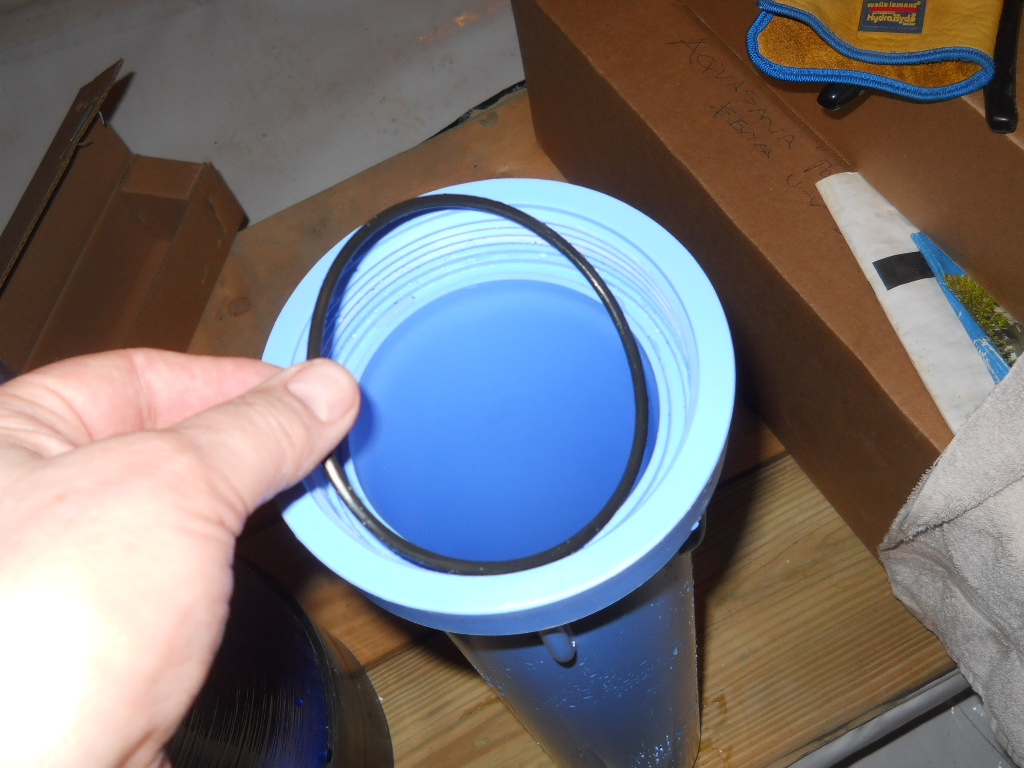 Remove the black rubber O-ring from the top of the blue filter housing.

Clean the O-ring with the towel.
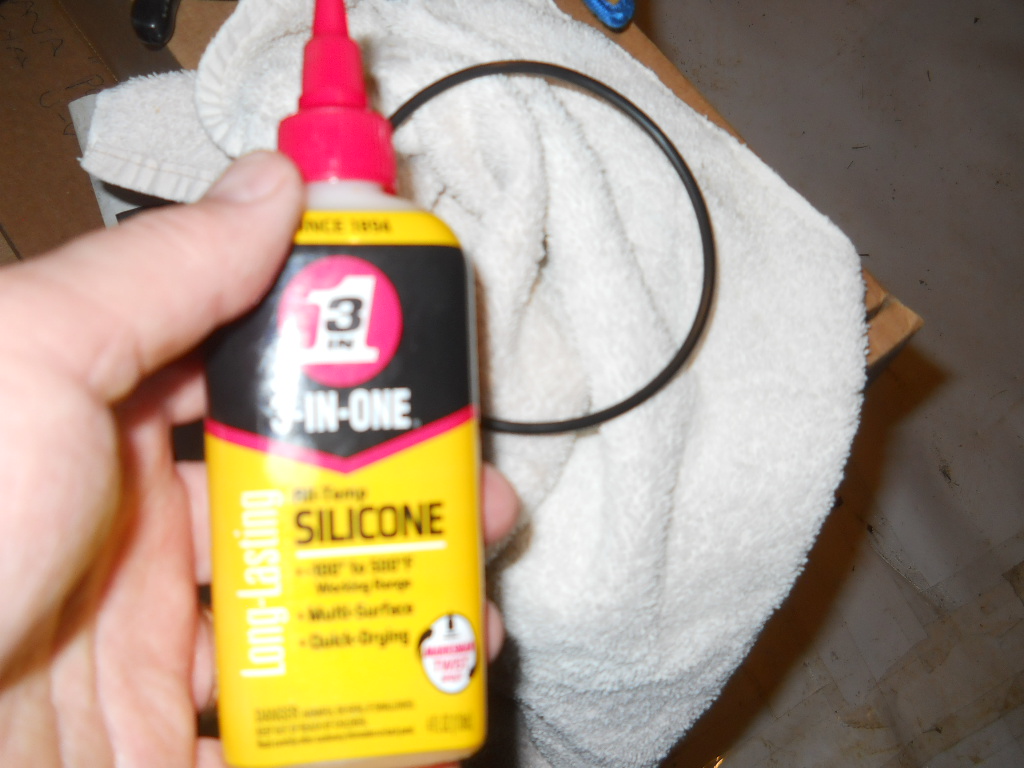
Lubricate the O-ring using silicone GREASE (not normal silicone sealant, which would not be good). Aquasana says to use silicone grease in their filter installation guidelines. Try to find and use FOOD-GRADE silicone grease. It would not be good to use substances that could be bad to consume, as some of this could get into the water that people drink.
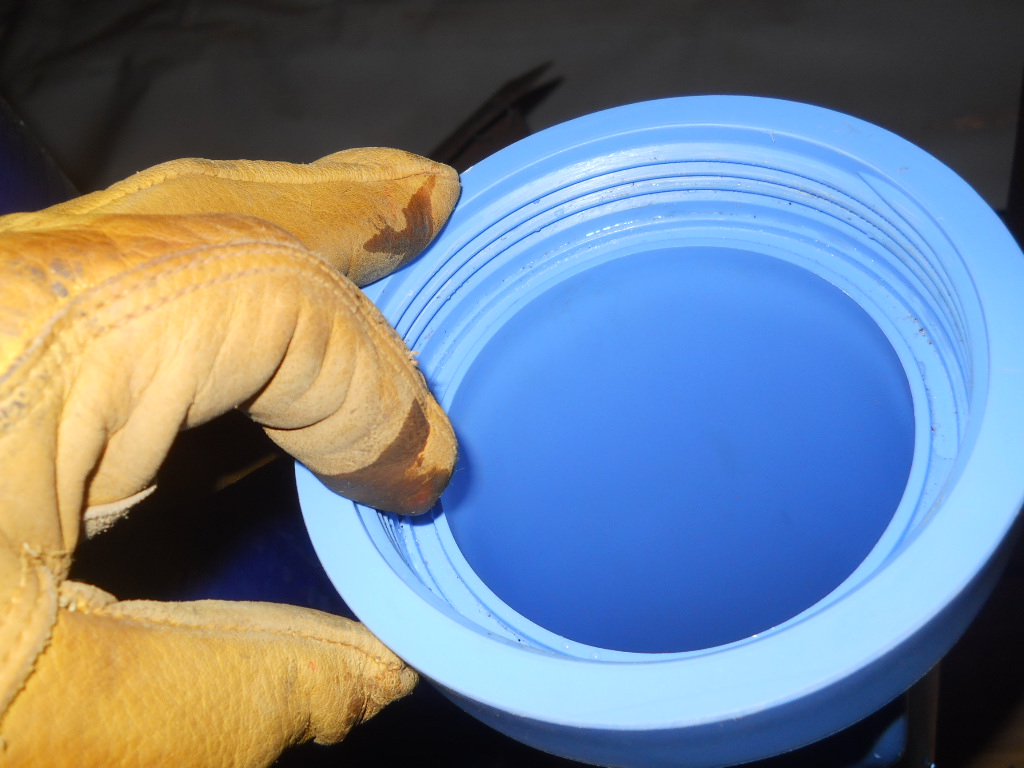
Lubricate the threads of the blue filter housing at the top, using some silicone grease on the tip of a finger or glove. Don’t overdo it. Don’t allow any of the grease to spill directly down into the housing.

Lubricate the threads of the black connector/ top of the filter housing using some silicone grease on the tip of a finger or glove. Don’t overdo it. The purpose of this is to make it easier to be able to rotate the housing into the screw cap top and to also be able to remove it in the future.
11. REPLACE THE O-RING
in the groove near the top of the blue filter housing.

Make sure the O-ring is seated all the way into the groove.
12. LOCATE THE NEW REPLACEMENT PRE-FILTER
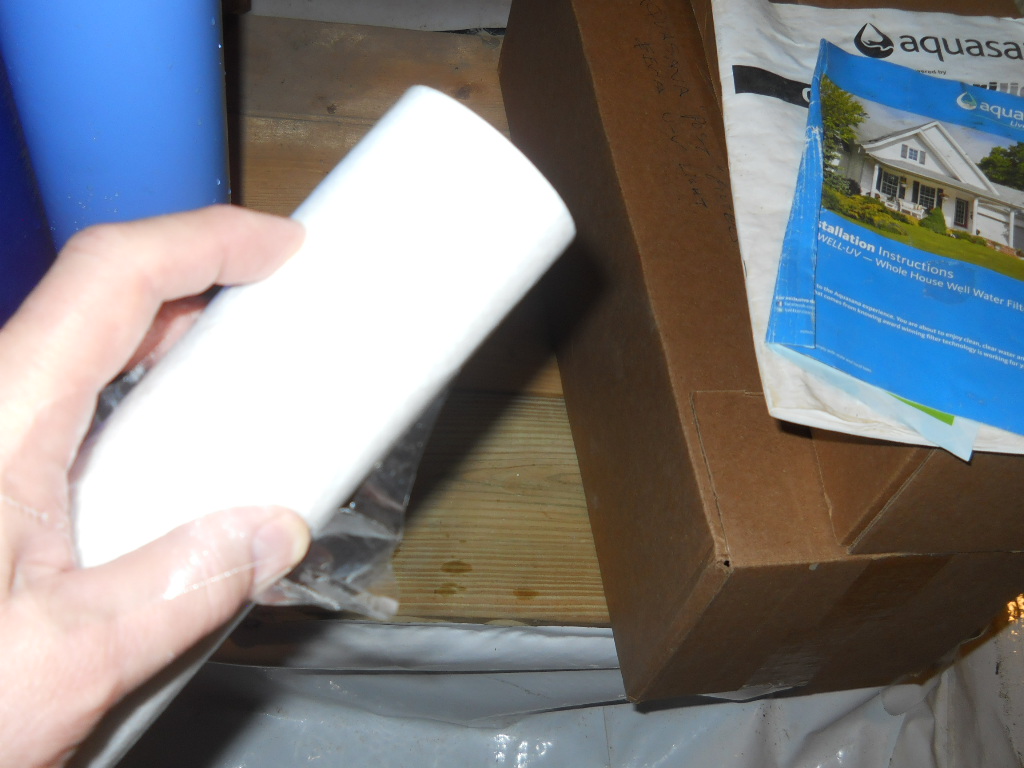
And remove the plastic film from the filter. Be careful not to leave any of the film on the filter. You do not want it getting into your filtration piping.

Then place the filter into the blue filter housing, making sure the filter is seated in the center of the housing, especially at the bottom, where there is a projection that must penetrate into the center spindle of the new filter opening.
13. RAISE THE BLUE HOUSING WITH THE NEW FILTER UP TO THE BLACK SCREW CAP
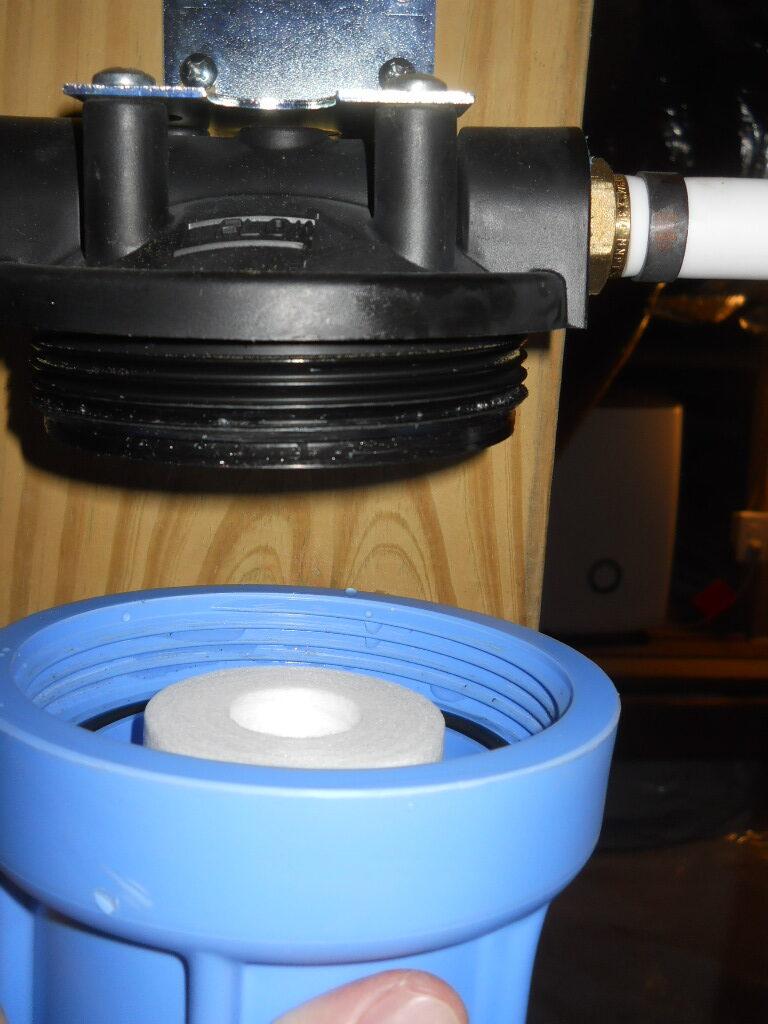
And turn to the RIGHT to tighten it hand-tight.

Some people believe this to be adequate. And that is a choice to leave it at that. However, it may be prudent to use the black plastic wrench and give another 1/2 turn just to be sure there will be no leaks. Don’t over-tighten. One wants to be able to easily remove it the next time one needs to replace a filter.

14. NOW TURN ON THE SUPPLY WATER VALVES BEFORE AND AFTER THE FILTERS
(do this slowly).
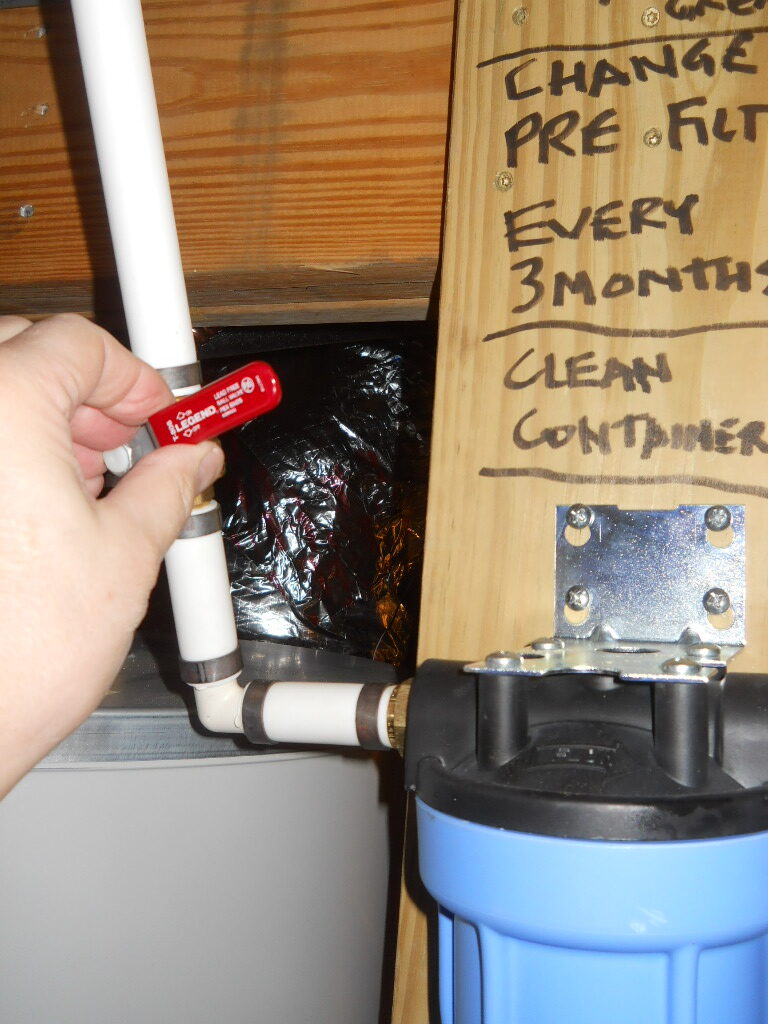

15. TURN ON BREAKER TO WELL (if there is one).
And that is how this particular company replaces a PRE water filter.