Cobblestone and Brick Walkway is about an Architect’s experience with putting in this specialized type of walkway.
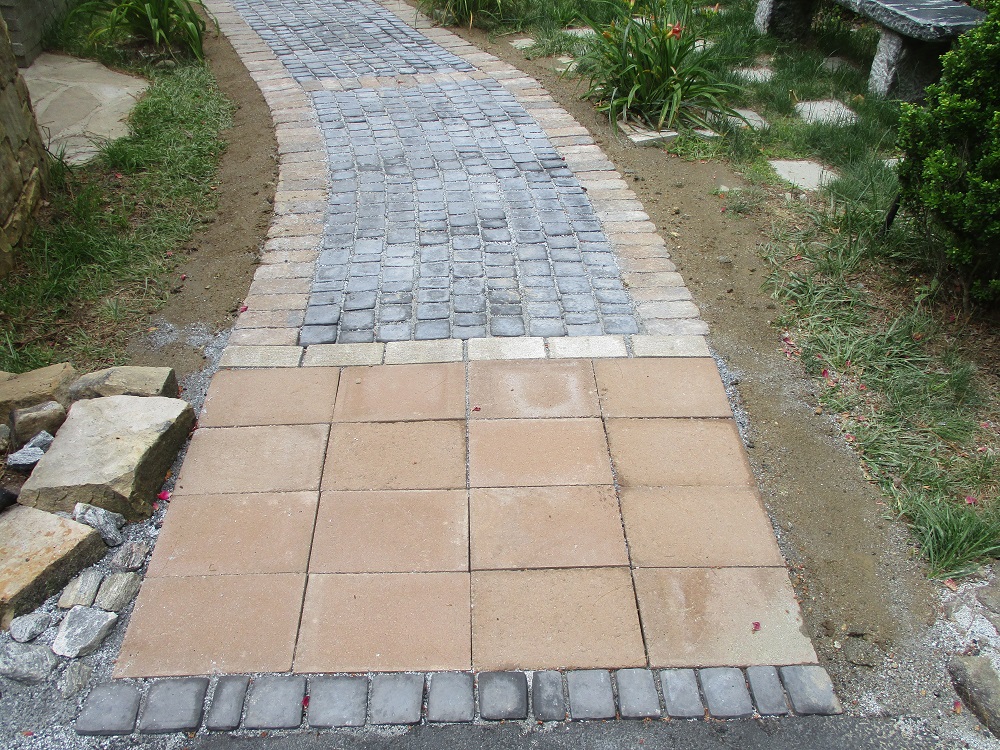
 Above is the end result.
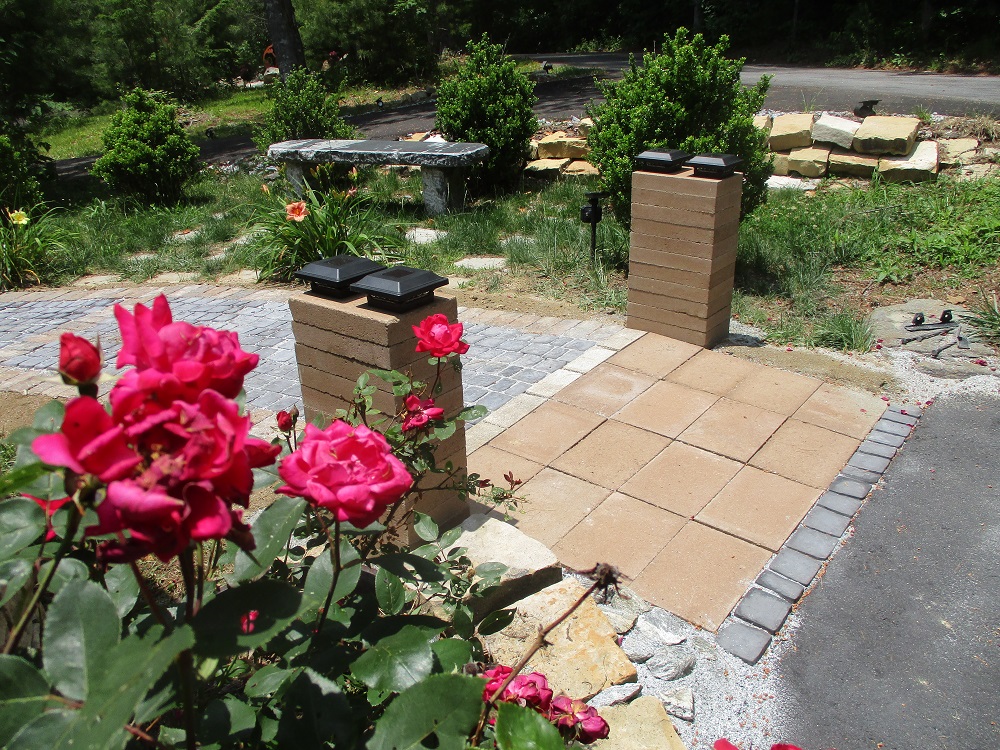
In this particular photo, there are also several other materials and features, such as tan colored concrete 12x8x2 pavers in the foreground, and that again, stacked to make vertical pedestals, forming an entry way to the cobblestone and brick walk beyond.
So now, let’s start closer to the beginning of this walkway assembly in terms of time.
Below, you can see the first step: that of application of WEED CONTROL FABRIC:
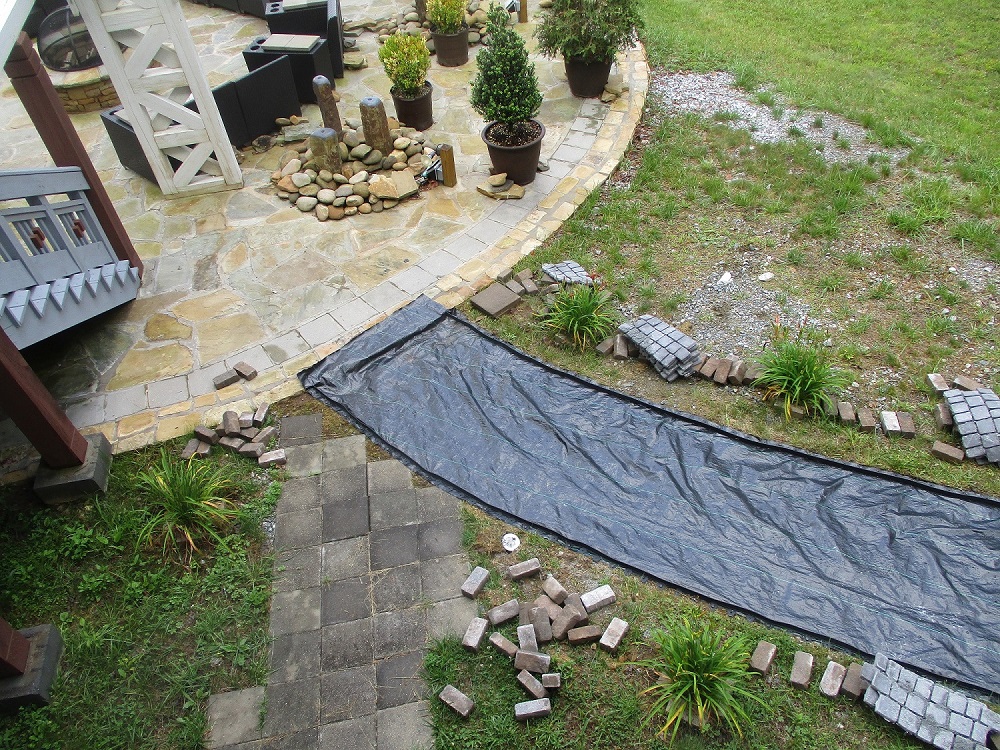
What does this do? It’s supposed to keep weeds and grass from growing up through the new cobblestone and brick paving.
Next, above, is the “L” EDGING.
It is a vinyl L with a serrated edge so it can bend into curves, and there are holes about 3/8″ in diameter prebored through the horizontal face. 8″ long plastic spikes are provided that you use a hammer to drive through the holes and through the weed fabric and into the ground.
Purpose: the purpose of the L edging is to hold in place the edge pavers on each side of the walkway, which in this case, is to be bricks.
Next, below, comes what most people would call “SAND.”
 However, technically, it is GRAY STONE SCREENINGS. It is inorganic, coming from highly fragmented stone, not of the earth. It is very heavy, as a single shovelful will tell you. This is so it will hopefully remain in place and not wash away or blow away. In this particular circumstance, this sand must be applied in 2 different thicknesses. First: only about 1/2″ inch or so, into which the edge bricks are installed and a rubber mallet is used to seat them. They are to b e touching the L Edging on each side of the walk. Next, the gray setting bed sand is installed in a thicker application between the bricks, perhaps down about 1/2″ below the top of the bricks.
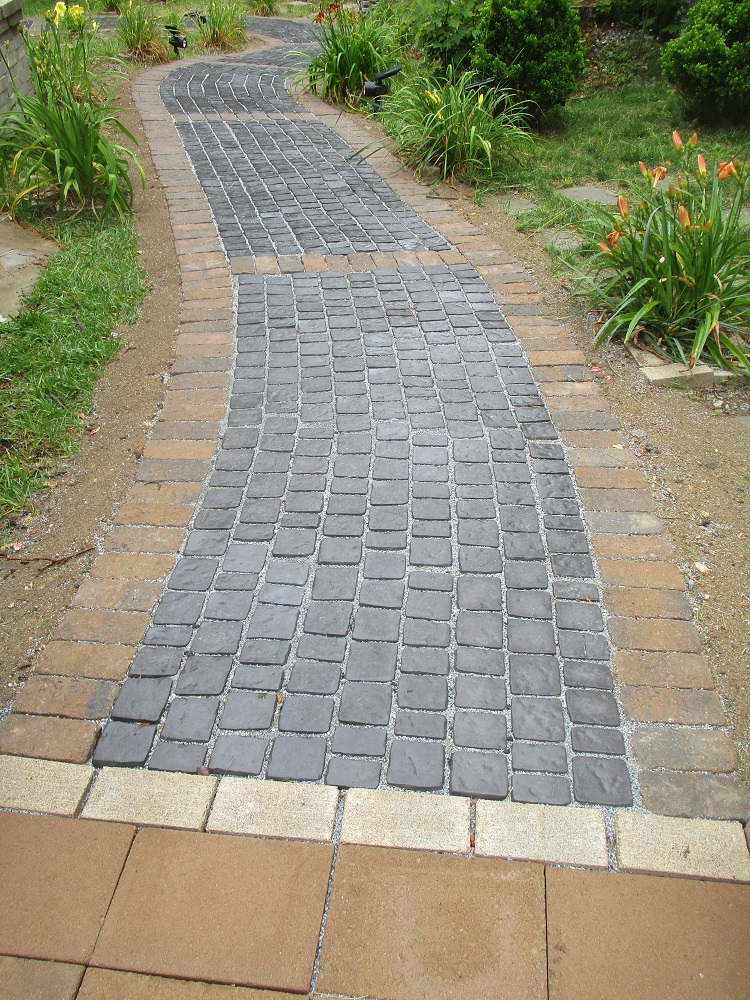
See below for this installation of BRICKS, sand and lastly the COBBLESTONE sheets (note people can opt for authentic rock type thick cobblestones, however, the labor intensive nature of this application will by several times more expensive than the system of cobblestone sheets used here).

It is very important to seat the cobblestone sheets smoothly and evenly and at the same height. The rubber mallets help with this. Installers can’t slam the mallets, or the cobblestones can crack. It takes some experience to understand the material and how to work with it. Note: it is recommended that professional masons be hired to perform this work, not DIY. And even with professionals, it will be just about impossible to not have several imperfections (ups and downs) in the cobblestones and the bricks.
Note regarding the ends of the walkway: it is important to prevent people from tripping that the installers recess the surface of the walkway to be even with the surrounding materials. For instance: in the photo above, note how the masons carefully adjusted the earth and other substrate materials to result in the end of the walkway being level with the patio flagstone surface. So now now no one will trip at the transition.
And in the photo below, you can see the new tan concrete pavers that have been dug into the existing asphalt paving, and gray sand added to allow this ramped material to be even at both the start and stop of it, so people won’t trip. This is because the bricks are 2″ thick at set at the top of the asphalt.
And after that was done, the Architect was not happy about how it looked and added a row of cobblestones to trim it off. See photo below. Note: also in this photo, brown dirt has been added to the sides of the walk, concealing the black vinyl L edging, as a landscape trim. Over time, grass will grow there, which will be trimmed with a weed whacker.
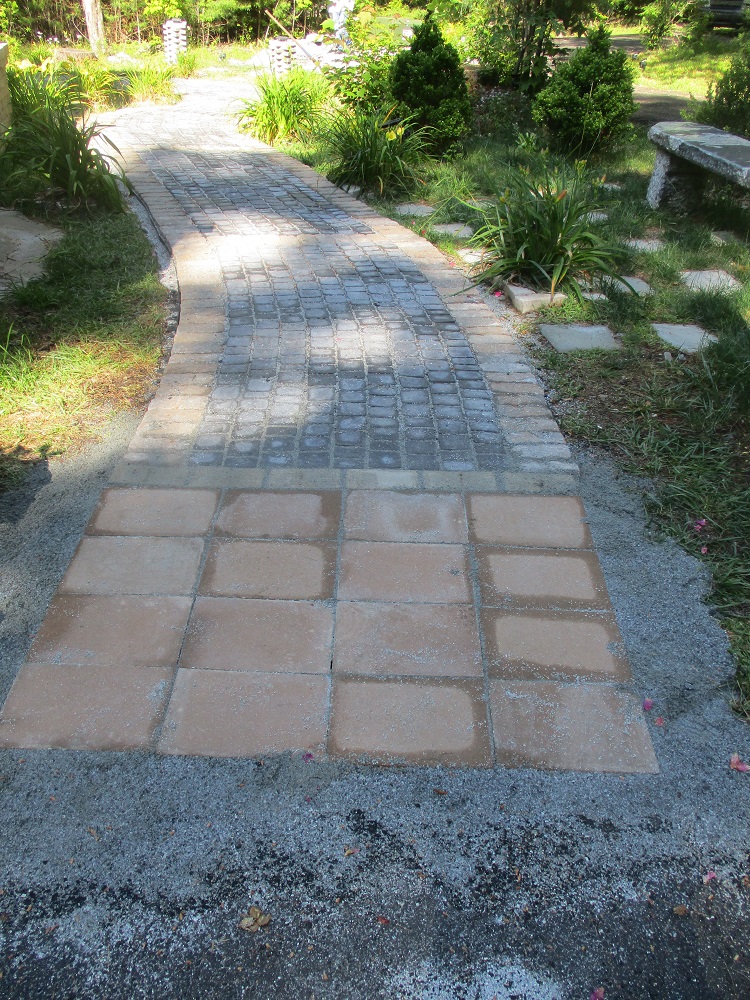
However, the Architect still wasn’t happy and decided to mark the beginning of the walkway with some more tan concrete pavers, stacked up to create pedestals, and to adhere some solar lights on top of them (below):
But the Architect still wasn’t happy, and thought it would look even better to alternate the layers of pedestal pavers with the color of the cobblestones. And still not happy, the Architect decided to seal coat the walkway with a special coating to give it a “wet look.”
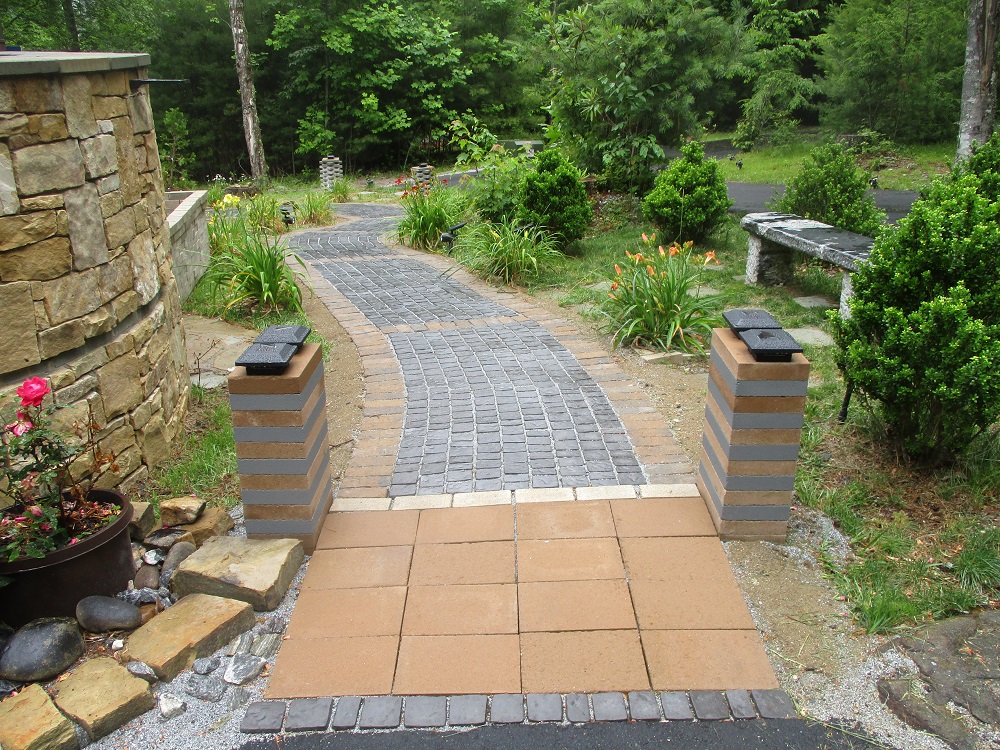
(Note: this is really not the final wet look seal coat, but rather a recent rainfall). But it starts approaching the final designer look desired by the Architect.
Note: there are some ups and down and unevenness here and there along the walkway (not visible in this photo) that the Architect does not like. But it was difficult to obtain a completely straight and smooth surface everywhere.
At any rate, the result is a high-end walkway.